


Beehive Hairstyle Tutorial: Create the Perfect Vintage Updo

The beehive hairstyle is a voluminous, structured updo that builds dramatic height at the crown using teasing, sectioning, and strong-hold hairspray. Created in 1960 by stylist Margaret Vinci Heldt for a beauty trade publication, the style is defined by its towering silhouette, often reaching 5 inches or more above the head. This beehive hairstyle tutorial walks you through every stage, from gathering your tools to securing the final pin, so you can recreate this iconic 1960s look at home with confidence. Whether you are a complete beginner or a vintage enthusiast preparing for a themed event, we have got you covered.
What tools and products do you need for a beehive hairstyle?
The right tools make the difference between a beehive that lasts all day and one that collapses by lunchtime. Gather everything before you start so the process flows without interruption.
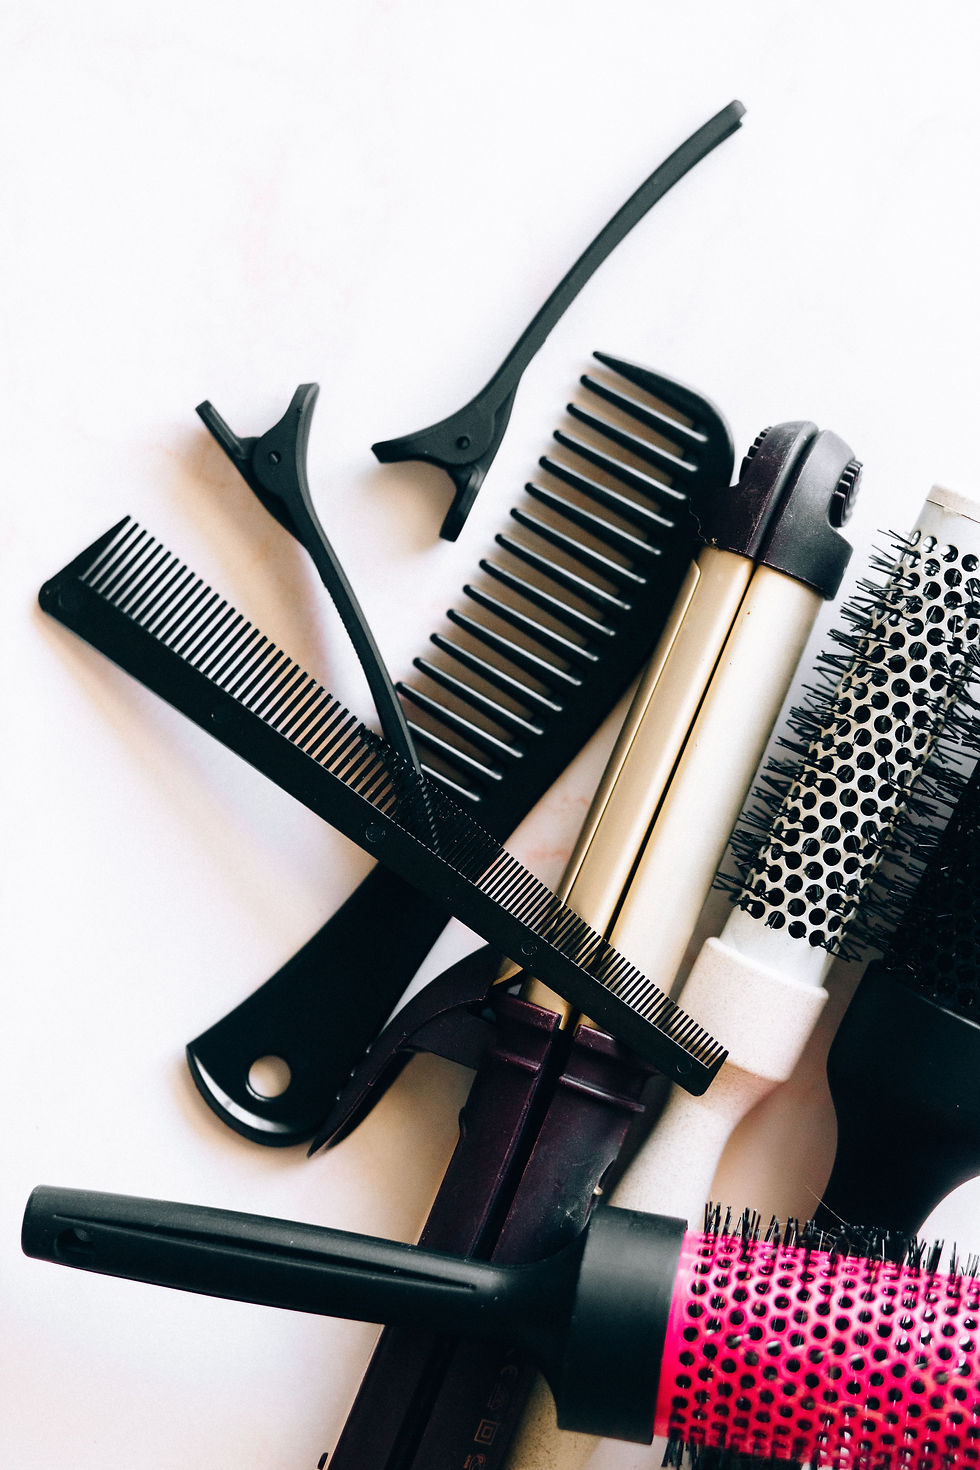
Essential Tools
Fine-toothed teasing comb. This is your primary sculpting tool. The fine teeth grip individual strands and push them towards the root to build volume.
Soft-bristle brush. Use this only on the outer surface to smooth the top layer without disturbing the teased interior.
Bobby pins. A typical beehive requires 10–20+ bobby pins to hold the structure firmly. Criss-crossing pins gives a stronger hold than placing them in parallel.
Strong-hold hairspray. Margaret Vinci Heldt herself credited strong-hold hairspray as essential to the beehive’s structural stability. Do not substitute a light-hold formula.
Sectioning clips. These keep your hair neatly divided while you work through each stage.
Volume-Boosting products
Product | Purpose |
Dry shampoo | Adds texture and grip to freshly washed hair |
Volumising powder | Lifts roots and thickens individual strands |
Root lift foam | Applied before blow-drying for extra body |
Texturising spray | Helps fine or slippery hair hold its tease |
Optional accessories and fillers
A hair “rat” or fabric-covered loofah is the secret weapon of the classic beehive. Placing this cushion at the crown beneath your teased hair creates an internal foundation that delivers height without requiring aggressive backcombing. For finishing touches, consider decorative combs, vintage bows, or a velvet headband. These accessories complete the 1960s aesthetic beautifully and pair wonderfully with the kind of retro styling pieces that bring a whole vintage look together.
Beehive Hairstyle Tutorial: Step-by-Step Guide
Beginners should allow 30–60 minutes for their first attempt, depending on hair length and thickness. Tehe process becomes much quicker with practice.
Step 1: Prepare your hair
Start with second-day hair rather than freshly washed locks. Styling on second-day hair gives your strands natural grit that grips the tease and holds the scaffold in place all day. If your hair is freshly washed, apply dry shampoo to the roots and work it in thoroughly before you begin.
Step 2: Section your hair into three parts
Divide your hair into three horizontal sections: top, middle, and bottom. The top section runs from the crown to the front hairline. The middle section covers the area from the crown down to roughly the ears. The bottom section is everything below. Clip the top section away and leave the middle and bottom sections free.

Step 3: Backcomb the middle and crown sections
This is the heart of the beehive updo tutorial. Backcombing is the art of creating an invisible scaffold, not a tangled mess. Take small subsections of the middle layer and hold each one straight up. Place your teasing comb about halfway down the strand and push it firmly towards the root using short, controlled strokes. Repeat across the entire middle and crown area until you have a solid, puffy base of volume.
Pro Tip: Work in small subsections of no more than 2.5 centimetres wide. Teasing large chunks at once creates uneven volume and is harder to smooth later.
Step 4: Place your hair filler (optional but recommended)
If you are using a hair rat or fabric cushion, position it at the crown now. Pin it securely with two or three bobby pins so it does not shift. The cushion sits beneath the teased hair and acts as a structural base, allowing over 5 inches of height with far less backcombing than the traditional method requires. This is particularly useful for fine hair or anyone who wants to protect their strands from excessive teasing.
Step 5: Smooth the top section over the structure
Release the top section and gently lay it over the teased interior. Use your soft-bristle brush to lightly smooth the surface only. The key word here is lightly. Only the top layer should be smoothed with a soft brush to preserve the internal nest beneath. Pressing too firmly will flatten everything you have just built.
Step 6: Secure with bobby pins and tuck the ends
Gather the smoothed top section and guide it towards the back of the head. Tuck the ends under the teased structure and pin them flat against the scalp. Work your way around the beehive, placing bobby pins wherever the shape needs support. Criss-cross each pin over the one before it for maximum hold.

Step 7: Set with hairspray
Hold your strong-hold hairspray about 30 centimetres from the hair and mist the entire shape evenly. Allow it to dry for 30 seconds before touching the style. A second light coat applied from directly above will seal the top and lock in the height.
Pro Tip: Spray a little hairspray onto your soft-bristle brush before smoothing the top layer. This tames flyaways without disturbing the volume underneath.
How to tailor the beehive for different hair types
The classic beehive technique works across most hair types, but small adjustments make a significant difference to the final result.

Fine or slippery hair loses its tease quickly without extra grip. Apply a texturising spray before backcombing and finish with a strong-hold hairspray rather than a flexible one. Volumising powder pressed into the roots before you begin adds the grit that fine hair naturally lacks.
Short hair can absolutely achieve a mini-beehive. Use a small fabric knot or a compact hair rat to create the internal structure, then tease only the crown section. The result is a neat, polished hive that suits bobs and pixie-length hair growing out.
Thick or very long hair can overwhelm the shape if left unsectioned. Work in more subsections than you think you need, and consider pinning the bottom layer into a low bun before building the beehive on top. This reduces bulk and keeps the silhouette clean.
For fine hair: texturising spray plus volumising powder before teasing
For short hair: compact fabric filler plus teasing only at the crown
For thick hair: pin the lower layers away before building the top structure
For heat-sensitive hair: the no-tease method using a fabric cushion avoids backcombing entirely
Pro Tip: If your hair is colour-treated or particularly fragile, the no-tease method with a fabric filler is the kindest route to vintage volume. You get the full silhouette without putting stress on your strands.
Common mistakes when styling a beehive (and how to fix them)
Even experienced stylists run into trouble with the beehive. Knowing what to watch for saves you time and protects your hair.
“Too much brushing of the beehive interior collapses its scaffold, destroying height. Maintaining the ‘nest’ interior is crucial for the illusion of volume. Only ever smooth the surface.”
Over-brushing the interior. This is the most common mistake. Once you have teased the middle section, do not touch it with a brush again. Use only your fingertips to gently guide the shape if needed.
Insufficient teasing. A flat or unstable beehive almost always comes down to not enough backcombing at the crown. If the style looks limp after pinning, release the top section, add more tease to the crown, and re-smooth.
Wrong hairspray. A light-hold or flexible formula will not keep the beehive upright for more than an hour or two. Always use a strong-hold or maximum-hold hairspray for this style.
Too few bobby pins. The beehive needs structural support at multiple points. If the shape shifts during the day, add more pins rather than relying on extra hairspray alone.
Removing the style incorrectly. To safely remove a beehive, first take out all the bobby pins, then soak the hair with water, apply a generous amount of conditioner, and detangle gently using your fingers before reaching for a comb. Brushing dry, teased hair risks breakage.
Complete your vintage look with My Vintage
The beehive is only the beginning of a truly authentic 1960s look. At My Vintage, we have been curating beautiful vintage pieces since 2004, and we know that the right accessories make a hairstyle sing.

Browse our collection of vintage hair accessories, decorative combs, and finishing pieces to add the perfect period-accurate touch to your beehive. While you are there, take a look at our 1960s hair guide for even more styling inspiration from the era. And if you love surrounding yourself with vintage charm beyond the wardrobe, our 1950s atomic magazine rack is a gorgeous piece of retro homeware that brings the whole nostalgic aesthetic to life. Head to My Vintage to shop the full collection.
Key Takeaways
The beehive hairstyle requires correct sectioning, controlled backcombing, and strong-hold hairspray to build and maintain its iconic height and structure.
Point | Details |
Prepare hair correctly | Use second-day or dry-shampooed hair for the grip needed to hold the tease. |
Tease with control | Work in small subsections using short strokes to build an even, invisible scaffold. |
Use a hair filler | A fabric cushion or hair rat adds height with less backcombing, protecting your strands. |
Smooth only the surface | Use a soft-bristle brush on the top layer only; never brush the teased interior. |
Remove safely | Soak, condition, and finger-detangle before combing to avoid breakage after wearing. |
Frequently Asked Questions
Who created the beehive hairstyle?
The beehive was created in 1960 by Margaret Vinci Heldt, an American stylist who designed it for a beauty trade publication. The style quickly became one of the defining looks of the 1960s.
How long does a beehive hairstyle take to create?
First-timers should allow 30–60 minutes depending on hair length and complexity. The process becomes noticeably faster once you have practised the teasing and pinning technique a few times.
Can I create a beehive without teasing my hair?
Yes. The no-tease method uses a fabric cushion or hair rat placed at the crown to create height without backcombing. This approach suits colour-treated or fragile hair particularly well.
How many bobby pins do I need for a beehive?
A secure beehive typically requires 10–20 or more bobby pins. Criss-crossing the pins as you place them gives a stronger hold than inserting them in the same direction.
How do I take down a beehive without damaging my hair?
Remove all bobby pins first, then wet the hair thoroughly, apply conditioner, and detangle with your fingers before using a wide-tooth comb. Never brush dry, teased hair, as this causes breakage.


Comments